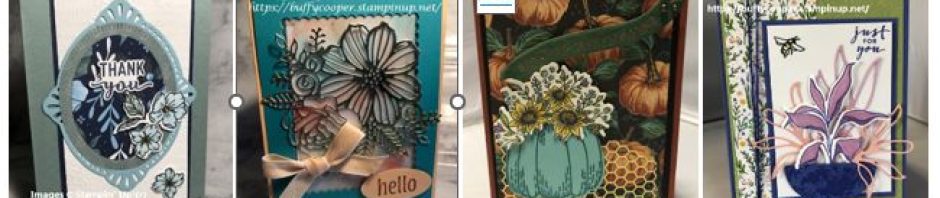
Hand-Penned Thanks
I haven’t created an “Eclipse” card for a while, so I decided to post one today. This is a bit different from the ones I usually see. The ones I’ve seen have a word or numbers cut out of the top layer and they cut-outs are adhered back into place with dimensionals. This one is backwards.

I love how this turned out, and here’s how I created it.
First, I cut two pieces of Very Vanilla Cardstock. One is 3-3/4″ x 5″ and the other is 4″ x 5-1/4″. I layered them (without glue) in my Stamparatus and lightly marked the corner of the smaller layer with a pencil. Then I stamped the bottle from the Brewed for You Stamp Set in Bermuda Bay Classic Ink on the smaller layer. After moving that piece, I stamped again on the larger piece. By using the Stamparatus, both layers are stamped in the same spot on the card stock – which will be important later.
Next, I lay the smaller piece back over the larger (in the same position) and stamped the flower from the Hand-Penned Petals Stamp Set in Tuxedo Black Memento Ink. After removing the smaller piece of Very Vanilla Cardstock, I stamped again on the larger piece. At this point, it’s ok to erase the pencil marks.
I colored both bottles of flowers with Bermuda Bay, Pool Party, Old Olive, Pale Papaya, Daffodil Delight, Poppy Parade, and SU1000 Light Stampin’ Blends. Then I used the skinniest Stitched Rectangle Die to die-cut three rectangles from the smaller piece. I also stamped some splatters from the Irresistible Blooms Stamp Set in Blushing Bride Classic Ink to the smaller layer. I added Stampin’ Dimensionals to the back of the smaller piece, then layered it over the larger, lining up the images. I know what you’re thinking. “Why don’t you just skip the coloring part on the larger layer and simply lay the die-cuts back into the bottom layer?” Yes, that would be easier, and it’s totally ok to do this. I just thought it looked a little more “finished” with the whole layer colored.
I die-cut the two layers for the sentiment from Blushing Bride and Poppy Parade Cardstock using the Amazing Thanks Dies. For the finishing touch, I added a few Solid Faceted Gems.
Thanks for stopping by Stamping with Buffy. Have a lovely day!
Product List
")

")


")


Another great technique! You are the technique queen!
LikeLike
Thanks, Susan! I’ve been having so much fun “revisiting” older techniques!
LikeLike
What a beautiful card! Your lining up is just perfect 🙂
LikeLike