Never Ending Card Instructions

Supplies:
Card base: Four 2-1/2″ x 5″ pieces of cardstock
DSP: Six 1″ x 2-1/4″; 16 1″ squares
Whisper White: Two 1″ x 2-1/4″; six 2-1/4″ x 2-1/4″ squares
Multipurpose Liquid Adhesive
Simply Scored Scoring Tool
Stampin’ Trimmer
Bone Folder
Washi Tape (opt.)
Score all four pieces of 2-1/2″ x 5″ cardstock at 1-1/4″ and 3-3/4″ along the long side.
Turn so the 2-1/2″ side is at the top; score at 1-1/4″ just to the score line. Turn 180 degrees and score the other end, just to the score line. Repeat for all pieces of cardstock.

Place two of the cardstock pieces together vertically to form a 5″ x 5″ square. Place the other two together horizontally.

Be sure the edges are even and the vertical pieces are together but not overlapping. You can add a little pieces of washi tape to hold them together so they don’t move during the gluing process. (Using liquid adhesive will give you a little wiggle room.)
Add liquid adhesive to the outer four corners, as shown.

Lay the top horizontal piece over the top of the two vertical pieces. You’ll be adhering glue to glue. Be sure all edges are even. (Note: I used copy paper for my example. You won’t be able to see the glue when you use cardstock.)

Repeat with the other horizontal piece.

Turn the paper so the slit in the middle is vertical.

Fold the left side back against the score lines on the vertical (back) piece. Then repeat with the right side.

Left Side

Right Side
Crease the folds with your bone folder. Remove the washi tape.
Fold on the top score line to bring the front center flap up. Score, then repeat for the bottom.

Top

Bottom
That’s all there is to it. Open from the center, then turn so the opening is vertical. You’re ready to decorate your card.
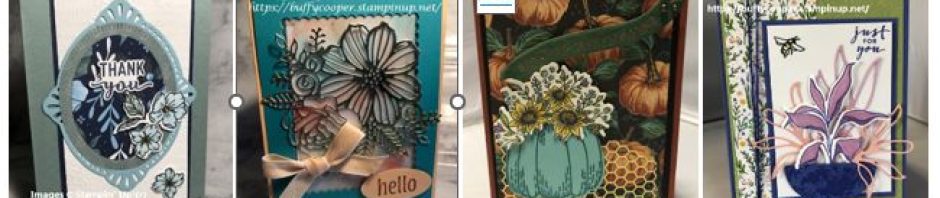
You can see my finished card here. You’ll open each page from the center. Out for side 2, then up for side 3, then open the little doors out for side 4, then open the center flaps to get back to the beginning.


