Faux Linen with Brilliant Wings
Welcome back, Crafty Friends! Wow, has this been a busy weekend! Sunday was Amelia’s 7th birthday. I cannot believe she can possibly be that old. It seems like yesterday she was toddling around, and now she’s quite a grown up young lady. She had two birthday parties this year. One was for grand (and great grand)parents, aunts and uncles and other adults she loves and the second was for her young friends. While I attended the first party, I also stopped by the second for a bit, and I was so impressed by the craft Stephanie (her mom) had planned for the kids. They made little fairy gardens using dirt, sand, grasses, stones, and more. They each received a succulent plant to add to the garden, as well as a little fairy house to paint. It was amazing, but not surprising. Steph is very artistic and creative.
Amelia had invited friends from school as well as friends who were children of her parents’ friends. As each child arrived at the party, Amelia introduced them to each other, and made sure everyone knew the others. I was so very proud of her. She is an amazing little girl, and, of course, I am not biased at all.
This weekend was also the Stampin’ Up!® Leadership Conference, or, “BackStage.” It was a virtual event, but, fortunately it was recorded so we can view what we missed. I messed up the time of the first meeting, so I totally missed that. And I missed a meeting or two while I was celebrating Amelia, but I’ll catch up. What I did get to see was amazing!
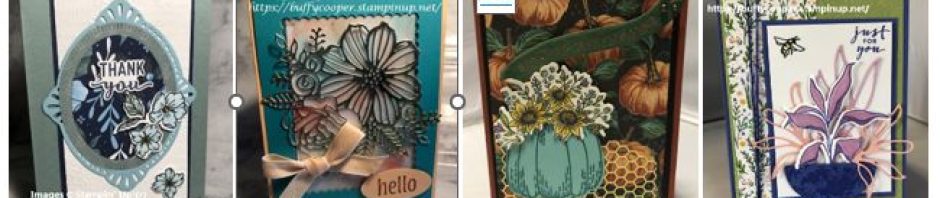
On Thursday night, our demonstrator team enjoyed our monthly “Technique Night.” Our newest team member, Nadine, demonstrated the “Faux Linen Technique,” and it was amazing! Here’s a card I made using her technique.

To create this card, I used a 4″ x 5-1/4″ piece of Pansy Petals Designer Series Paper (DSP). Next, cut a piece of tissue paper (I used white, because that’s what I had handy) a little larger than the focal piece, then crumple it. Uncrumple, then crumple again as many times as you want until you have the look of wrinkled linen. Don’t flatten it out too much, though, because you want to keep the texture the wrinkles give.
Next, use a sponge and Multipurpose Liquid Glue to cover the front of the DSP, then lay the “uncrumpled” tissue paper over it. (Tip: Cut your sponge into thirds to make it easier to use.) Be sure the tissue paper is totally adhered to the DSP, then miter the corners (cut the tissue paper at an angle at each corner). Fold the tissue paper to the back of the DSP and adhere. I sponged a bit of Balmy Blue ink to the white spots, just to add a little more depth to the tissue paper. It’s quite subtle, and you don’t notice unless you’re looking for it.
To finish off the card, I cut a 2-1/2″ x 3″ piece of Fresh Freesia Cardstock and punched the four corners with the Detailed Trio Punch. I stamped the sentiment from the Garden Birdhouses Stamp Set using Gorgeous Grape Classic Ink. Using the Brilliant Wings Dies, I cut a butterfly from another design of the Pansy Petals DSP, then layered it to the card using Stampin’ Dimensionals.
To finish the card, I tied a piece of Fresh Freesia 3/8″ Open Weave Ribbon to the fold of the card and added some 2021-2023 In Color Jewels to the butterfly and a few Pastel Pearls to the card. Here’s an easy way to “measure” the amount of ribbon you need. If you’re going to tie the ribbon around the card in a knot, wrap it around the area you’re tying 1-1/2 times, then cut. If you’re tying a bow, wrap it two full times, then cut. There’s very little waste when you do this.
I love the way my card turned out. It was so simple to create and this technique is so fun. Besides adhering the crumpled tissue paper to DSP, you can stamp on the tissue paper before you crumple it, or stamp on cardstock and add the tissue paper over it. (Just be sure the in is totally dry before you crumple or you could have a mess!)
See the list below to add items I used on my card to your shopping cart. Or, you can add them all with just one click!
Thanks for stopping by Stamping with Buffy. Have a lovely day!
Product List


 Designer Series Paper")

 Open Weave Ribbon")


Buffy, this is really a stunning card. That tissue paper adds so much impact
LikeLike
Thank you, Jackie! So fun!
LikeLike
Happy birthday to Amelia! How did she get to be 7 already??? Just stop, Amelia! Beautiful card, Buffy!
LikeLike
Thanks, Susan! And I know! These kids are all growing up too fast!
LikeLike
Such a gorgeous card! The crumpled tissue adds so much to it – love the texture!
LikeLike
Thank you, Deborah! It was fun to create.
LikeLike
This is a very beautiful card. I love how you made this and shared the details with all of us. Thank you.
LikeLike
Thank you so much! This is such a fun technique!
LikeLike